So as promised here is the tutorial to help make your own covered buttons or magnets!
I am no expert so this is just the way I make them, they are fun and quick to make which is what I like. Although you may not be the lucky winner of the Sew, Mama, Sew giveaway hopefully I have inspired you to try these out for yourself.
Thank you for all the wonderful comments from the giveaway and welcome to new followers and readers!! I do appreciate each and everyone of you!
Winner of the giveaway announced at the end of the tutorial :)
Here is the basic kit you need to get started to make wonderful buttons. The tool, button tops with shanks and button backs ~
This tool is great as you can make buttons from 11 - 29mm in size ~
Other bits you will need are a pair of fabric scissors, a pencil and a pair of paper scissors ~
On the back of the kit packaging there is a template guide showing you what size you need to cut your fabric pieces for each button size ~
Using tracing paper, trace the template from the back of the kit and copy onto a medium thickness card or template plastic and cut out ready to use. I have a little set for each size labelled and ready to use ~
Now the fun bit, select your fabric! These types of fabrics are great for a fussy cut cute design for the button front ~
Or you can choose some of your smaller fabric scraps ~
Place the template onto the wrong side of your chosen fabric and draw around with a pencil (or tailors chalk) ~
Next carefully cut out your fabric ~
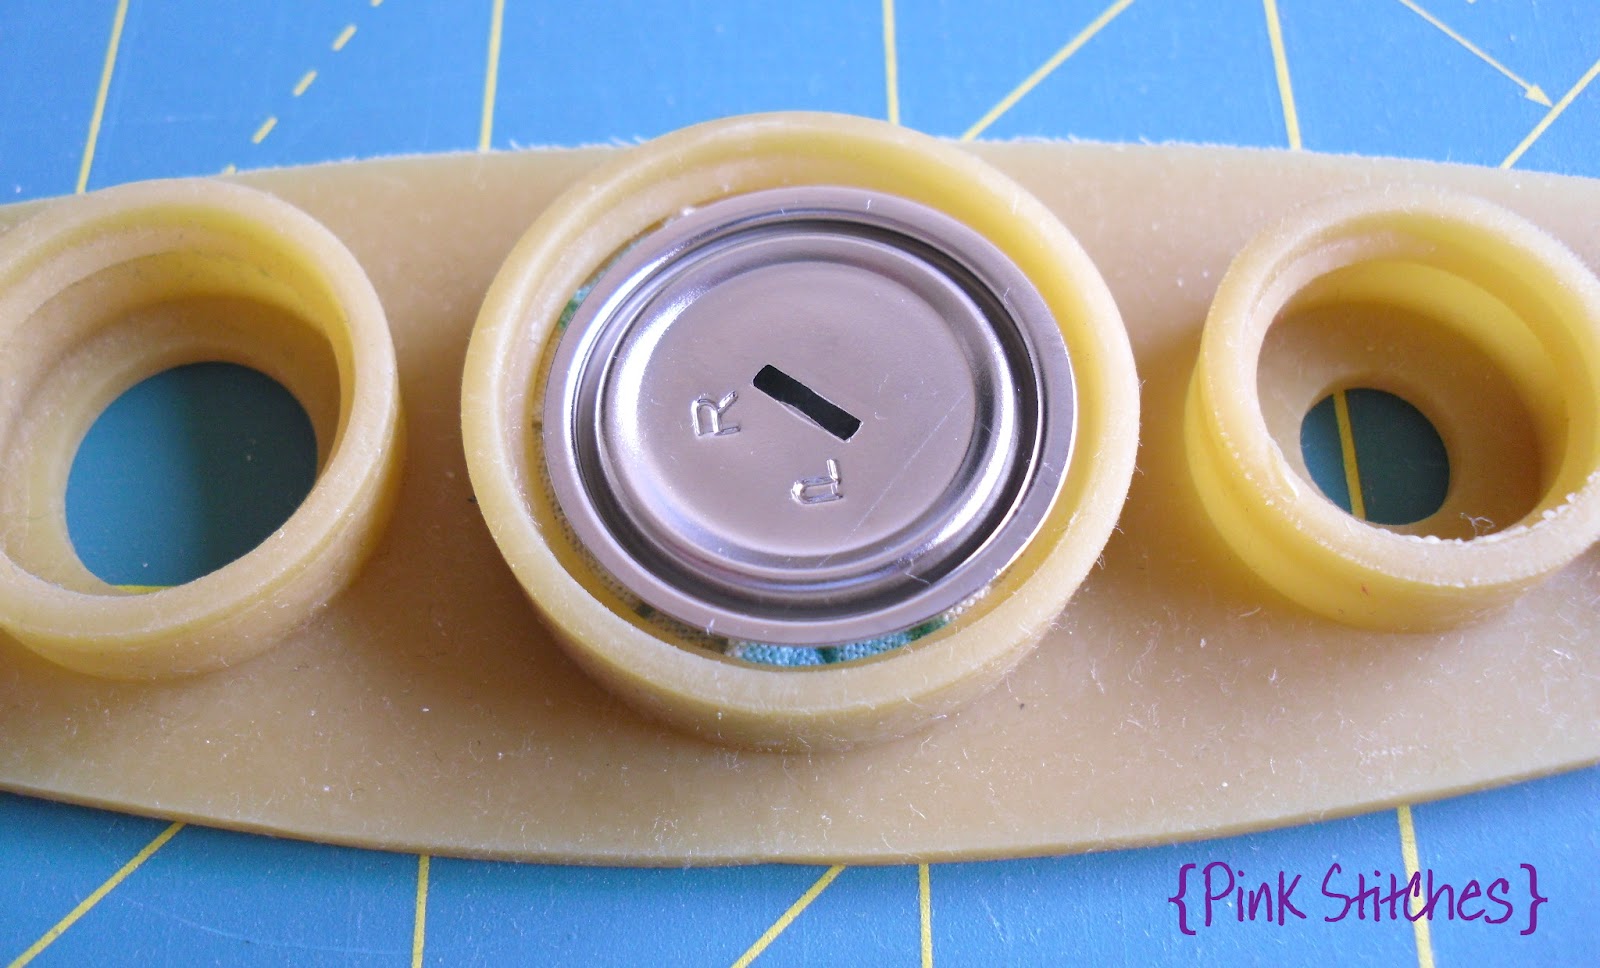
Using the base of the kit place your fabric circle and the button top on top of the correct size ( I have removed the button shank as I was making these into magnets, keep going and you'll see them at the end of this tute!) ~
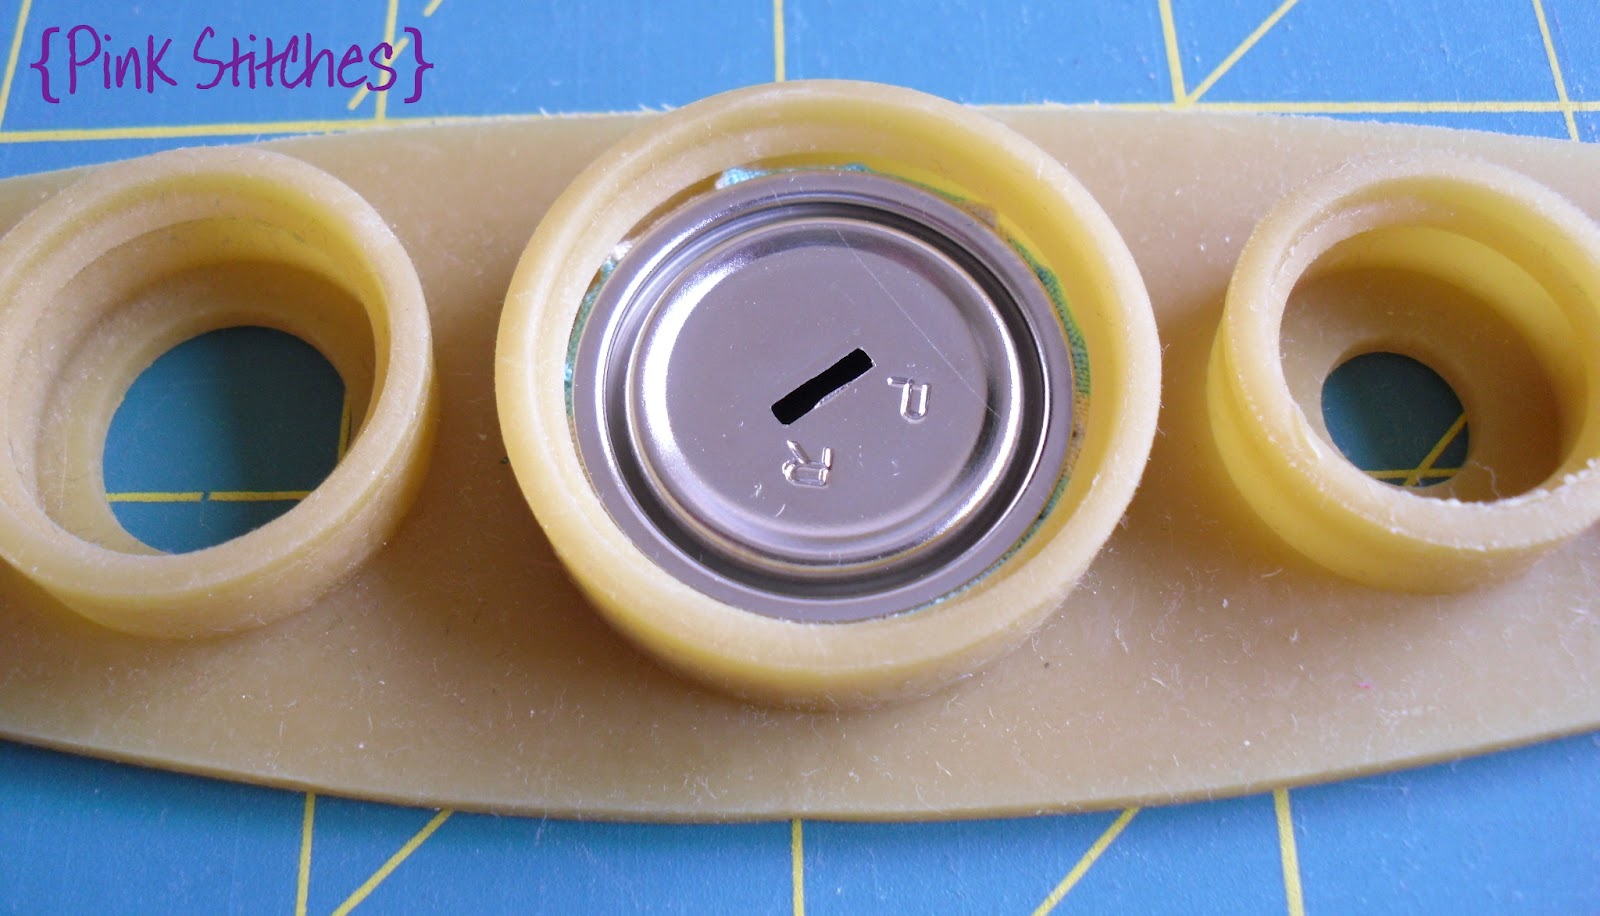
Press this into the tool, this will start to secure the fabric in place. If you have fussy cut a design you can turn the tool over (the base has holes in it) and you will be able to see if your design is centred.
Push the excess fabric into the centre. The little teeth on the button top will hold this in place. I find using the end of the pencil helps with this ~
Now carefully place on the button back ~
Place the red top of the kit on top of the base and line up carefully ~
On a flat surface press down firmly the top and the bottom should click together ~
Remove the red top and you will find a neat little button, carefully pop this out ~
These are the buttons popped out with the button shank attached ~
Voilà cute buttons in an instance!
This kit is fab for making magnets! Take the top part of the button and remove the button shank with a small pair of pliers. This is very easy to do. The button top on the left is how it comes and on the right is after I have removed the shank ~
Take a set of covered button tops and mini magnets ~
Then the fun starts! Out comes the glue gun, heat this up following the instructions for your gun ~
Get ready to glue! I find with my glue gun I have to work fairly quickly when making these as the glue dries very quickly on the metal. Run the glue in a circle around the edge and quickly and firmly press down the magnet. I tend to hold this in place for about 30 seconds to make sure it is secured firmly ~
If it dries too quickly before you attach the magnet it is very easy to pull off and start again ~
The back of the button tops now with magnets stuck down firmly!
And there we have it, cute little magnets ready to brighten up any space!!
I hope you've enjoyed the tutorial and would love any feedback and see all your projects made with cover buttons!!
Now for the winner of the SMS giveaway (using the random number thingy!)......
Congratulations to #42
Sarah who said...
"Thanks for the chance to win! Who doesn't love covered buttons, that tool looks so nifty!"
An email is on its way to you.
Plus more good news I have another exciting giveaway coming very soon!!


1 comment:
such cute tutorial.. x
Post a Comment