If you're like me, you probably have a stash of fabric scraps that you just can't bear to throw away.
Recently I had a bunch of scraps from a bag project which I couldn't throw away! The best thing was that the scraps were already double sided so I knew I had to do something with them. What a better way than to make a mug coaster! Not only is it a useful item, but it also adds a pop of colour to your sewing space!
Here's how to make one:
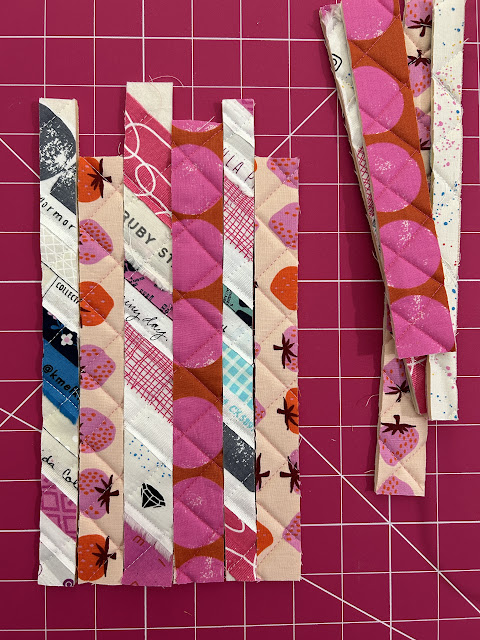
1. Sort through your scraps. As you can see these scraps are double sided. In my bag project I had used a mixture of fabric selvedges and Ruby Star Society fabric on one side and Ruby Star Society Speckled Confetti as the lining. I used Bosal In R Form double sided fusible in the middle and then cross hatch quilted. This meant I was left with double sided scraps!
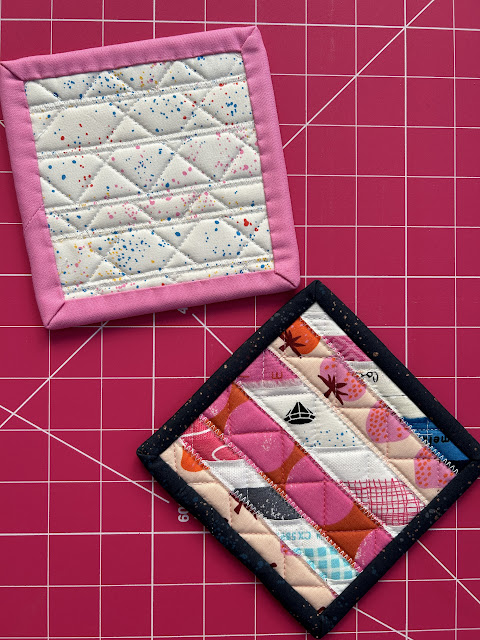
3. Choose your layout for your mug coaster, I kept all the Speckled Confetti as the bottom of the coaster and then rearranged the strips until I had a design I liked.
4. Choose the size of your coaster and trim. I went with 5 x 5 inches. And yes, I did keep some of the small scraps I trimmed off!!
5. Next join the strips together. I butted each strip up next to each other and then used a zig zag stitch to join them together.
6. Keeping with the theme of scraps, I had some leftover pieces of binding, which worked perfectly. I treated the coaster as a mini quilt and stitched the binding onto the right side of the coaster and then hand stitched it down on the back. It is probably quicker and easier to machine stitch the binding completely but I never seem to get a good finish and love hand binding so it didn't bother me doing it this way!
7. And that's it! You now have a cute and functional mug coaster made from fabric scraps.
Happy Stitching! Xx


